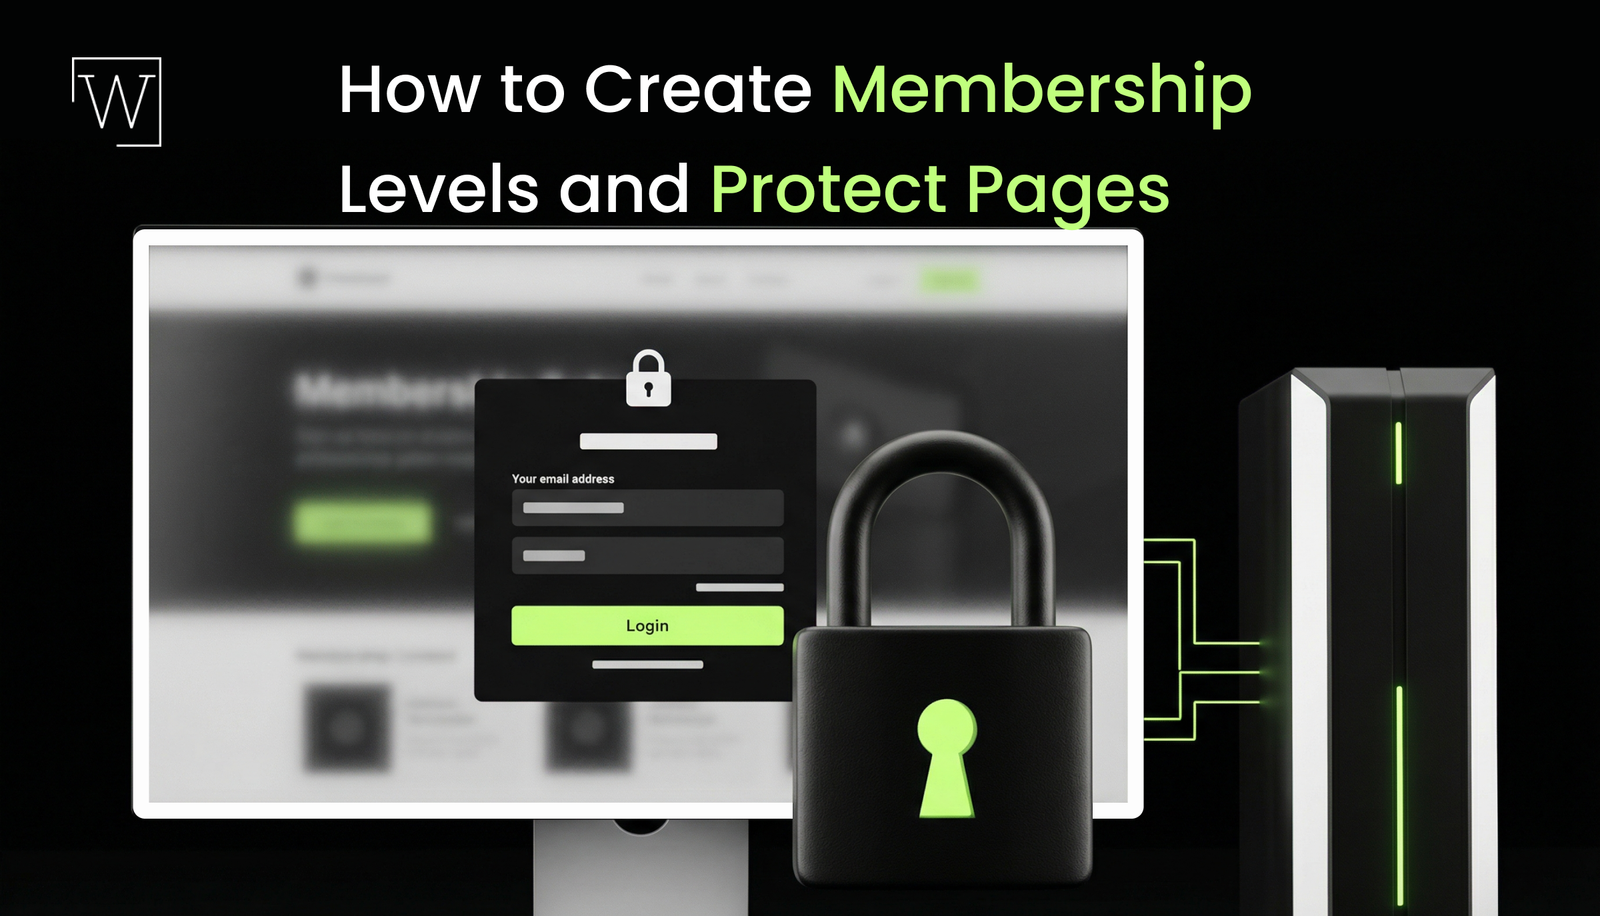
You can create a membership site on WordPress with distinct access levels, protected content and automated billing without paying a developer. Paid Memberships Pro is the plugin that makes it happen. The core plugin is completely free. It powers over 90,000 membership sites worldwide. It handles everything from collecting payments to restricting content out of the box.
This guide will walk you through setting up Paid Memberships Pro:
- What PMPro. How membership logic works
- Creating levels. Subscription, one-time and trial
- Three strategies to protect content in situations
- Configuring the member account page and post-login redirects
- Best practices before going
Lets break it down step by step.
How PMPro Works
Paid Memberships Pro is a plugin with a core that has no limits on levels or members and over 30 free add-ons.
The paid plans start at $247 per year for Standard and $397 per year for Plus. These plans unlock features like content dripping affiliate tracking and priority support.One thing to know upfront: the free version charges a 2% fee on Stripe payments. This fee disappears with any paid plan.
The logic behind every membership site built with PMPro follows the flow:
Levels → Restrictions → Member Experience
You define your levels decide what content each level can access and configure the member experience. The account page, post-login destination and messages non-members see.
Step 1: Creating Membership Levels
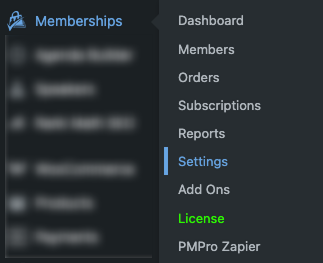
Go to: Memberships → Settings → Levels → Add New Level
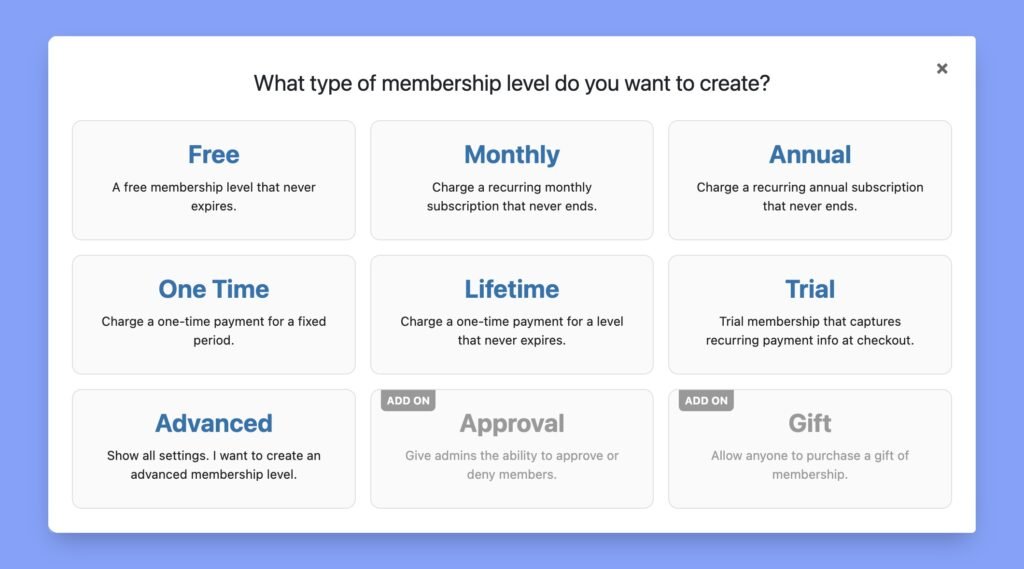
The first screen asks you to pick a template. PMPro offers four starting points:
| Template | What It Does |
| Monthly / Annual | This can match the recurring amount be higher (like a setup fee) or be zero for a tier or trial. |
| Lifetime | For recurring levels tick the Recurring Subscription checkbox. |
| Trial | trial into paid subscription. Set Initial Payment to $0 enable recurring billing at your full rate. |
| Advanced | Full settings screen with every option visible from the start |
You can adjust every setting afterwards.
Defining the Level Name and Description
Give the level a public-facing name. “Starter” “Pro” and “Business” communicate value better than “Level 1” “Level 2” “Level 3.” The description field is optional. Shows up on the checkout page. A one-line summary of what’s included is worth adding.
Billing Details: Initial Payment, Recurring Billing, and Trial Periods
The Initial Payment is what gets charged at checkout. This can match the recurring amount be higher (like a setup fee) or be zero for a tier or trial.
For recurring levels tick the Recurring Subscription checkbox. Set your billing amount and frequency. For example $49 per 1 Month. The Billing Cycle Limit controls how times the recurring charge runs. Set it to zero for billing that continues until the member cancels.
The Custom Trial option lets you offer an free introductory period before full billing begins.
Two common setups:
- Free trial into paid subscription — set Initial Payment to $0, enable recurring billing at your full rate. PMPro begins charging one billing cycle after signup automatically
- Discounted first period — set Initial Payment lower than the recurring amount, for example $9 for the first month then $49/month from there
For custom trial durations that don’t align with your billing cycle — like a 14-day trial on a monthly plan — you’ll need the Subscription Delays Add On (free with a paid PMPro plan), which adds a delay field directly on the level settings screen.
Membership Expiration: Fixed-Term vs. Ongoing Access
By default, membership access continues until a member cancels or billing fails. For fixed-term access, tick the Membership Expiration checkbox and set a duration — for example “3 Months” or “1 Year.”
Two practical scenarios worth distinguishing:
- Ongoing subscription — leave expiration blank. Billing runs until cancelled. Member loses access when the subscription ends
- One-time payment with fixed access — set an expiration date. Members receive an automatic email as expiry approaches encouraging renewal
Set both if you want access to end when payments end.
Step 2: Content Protection Strategies
PMPro gives you three different ways to restrict content — each suited to different situations.
Strategy 1: Global Page Restrictions: The “Require Membership” Meta Box
The most direct method. Open any page or post in the WordPress editor, scroll down, and you’ll find the Require Membership meta box added by PMPro. Tick the membership levels that should have access. Save the page.
Non-members who try to visit see a customisable message explaining they need to sign up — you set this message under Memberships → Settings → Advanced Settings. By default in PMPro v3.1 and later, the message includes a login link that redirects the visitor back to the same page after signing in, so they land exactly where they were headed.
Use this for: individual pages, key resources, course modules, or any content you want to gate one item at a time.
Strategy 2: Category-Based Protection: Bulk-Locking Posts
Restricting posts one by one gets tedious fast. For larger content libraries, PMPro lets you protect entire categories at the level settings screen itself.
Go to: Memberships → Settings → Levels → Edit Level → scroll to Content Settings
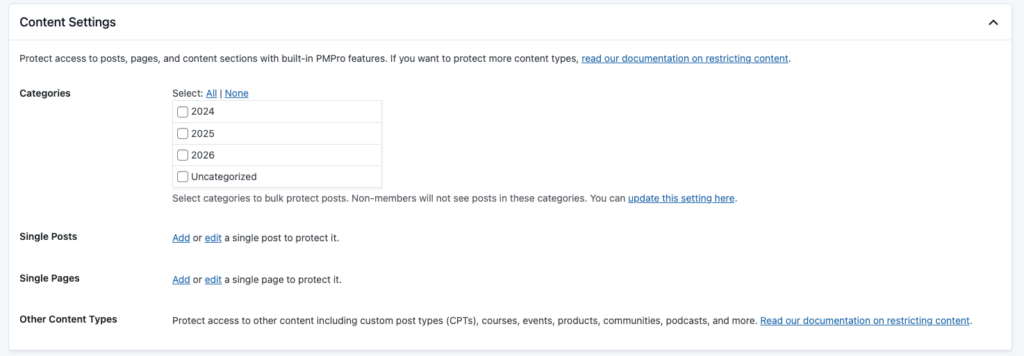
Tick any categories whose posts should be locked to that level. Every post inside those categories becomes protected automatically — including future posts added to the category. You control whether non-members see the post titles in archives, see excerpts, or see nothing at all.
Use this for: blog content libraries, resource collections, podcast archives, or any large group of posts that belong behind a single access tier.
Strategy 3: The Member Content Shortcode: Inline Partial Restriction
Sometimes you don’t want to lock an entire page — you want to show a teaser paragraph publicly and hide the rest. That’s what the [membership] shortcode handles.
Wrap the content you want to protect between the opening and closing shortcode tags, specify the required level, and non-members see everything outside the tags while members see the full page. No duplicate pages needed, no awkward redirects.
Use this for: preview content strategies, gated article sections, hybrid public/private pages, or landing pages where the first section sells the membership and the second delivers it.
Step 3: Member Experience and Redirects
Getting the access logic right is only half the job. What members actually experience after they sign up matters just as much and it’s where a lot of membership sites leave things half-finished.
The Membership Account Page
PMPro auto-generates a set of frontend pages when you run the setup wizard, including the Membership Account page. This is the central hub for logged-in members — it displays their active levels and expiry dates, profile information, billing details, order history, and self-serve options like upgrading, downgrading, or cancelling.
Go to: Memberships → Settings → Pages → confirm Account Page is assigned
The account page is built with sections that you can show or hide. Using the block editor, each section — Membership, Profile, Orders, Billing, Member Links — can be rearranged or removed. Many sites turn this into a proper member dashboard by adding custom links, a welcome message, and quick access to key content areas.
Configuring Post-Login Redirects
By default, PMPro sends all members to the Membership Account page after login. That’s a sensible default, but it’s rarely the best member experience for a content-focused site.
Three redirect options worth knowing:
- Back to the referring page — built into PMPro v3.1 by default. When a non-member hits a protected page and logs in, they land back on that same page automatically. No extra setup needed if you’re on v3.1+
- Same destination for all members — use the ?redirect_to= URL parameter on your login page link to send everyone to a specific page regardless of where they came from. Useful for directing all new logins to a welcome or onboarding page
- Level-specific destinations — the Member Homepages Add On (included in paid PMPro plans) lets you assign a different landing page per membership level. Pro members go to the Pro dashboard. Starter members go to the Starter resource library. Each tier gets its own post-login home
For a cleaner no-code setup that handles all redirect scenarios including WooCommerce and level-based rules, LoginWP (https://loginwp.com/) is a dedicated redirect plugin with a PMPro integration built in.
Best Practices
Before going live, a few things that catch sites out:
Test with real user accounts, not admin accounts. Administrators bypass PMPro restrictions by default. Create a test account at each membership level, log in from a private browser window, and confirm access works exactly as expected — including what restricted visitors see and where they end up.
Don’t over-tier your levels at launch. Two or three levels is enough to start. More levels mean more complexity in your restriction rules, more combinations to test, and more confusion at checkout. Add tiers once you know what your members actually want.
Set meaningful expiration emails. PMPro sends automatic emails as memberships approach expiry. Customise these at Memberships → Settings → Emails — a well-written renewal reminder with a direct link to checkout recovers a significant number of members who would otherwise just let their membership lapse.
Keep the checkout page clean. The checkout page is where money changes hands. Remove unnecessary navigation, keep the page fast, and put a testimonial or two near the payment form. First impressions of the payment experience affect whether people complete the signup or abandon halfway through.
Final Thoughts
PMPro gives you a full membership infrastructure without the price tag of a custom build. Levels, restrictions, billing, account management, and redirects — it’s all there in the free version for most setups, with paid add-ons available when you need them.
The three protection strategies — page-level, category-level, and inline shortcode — cover every content scenario without needing workarounds. The redirect system, especially from v3.1 onwards, handles the post-login experience cleanly without custom code for most sites.
✔ Start with two or three levels and build up based on what members ask for
✔ Use category protection for large content libraries, page-level for individual items
✔ Use the Member Content shortcode for teaser-style gating on public pages
✔ Configure post-login redirects so members land somewhere useful, not a default account page
✔ Test every level from a real member account before taking live payments
A membership site built on PMPro doesn’t require ongoing developer involvement once it’s set up properly. That’s the whole point
Ready to Launch Your WordPress Membership Site the Right Way?
If you want to:
- Set up PMPro with the right levels, billing, and restrictions from day one
- Build a member experience that keeps people subscribed beyond the first month
- Integrate memberships with WooCommerce, email marketing, or a custom design
- Get the full setup done without spending weeks figuring it out
We’ve built membership sites on PMPro for course creators, coaching businesses, and content communities of all sizes.
👉 Contact us today: And let’s turn your knowledge into a recurring revenue stream.